Faux Bean Installation Instructions: How Are Faux Beams Installed?
Are you ready to break up the bareness of your drab ceilings with decorative ceiling beams? Here is how to install your faux wood beams. Below the brief instructions, you will find a helpful video to follow to make the process go smoothly. The steps and video will be able to help out anyone asking: "how are faux beams installed?"
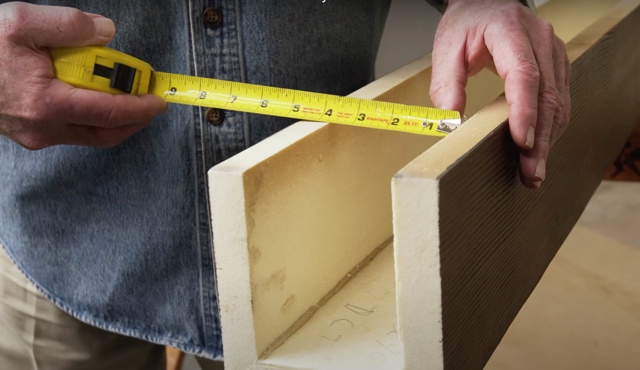
To get started with your ceiling beam installation, gather a few tools you may find handy, including a hand saw, drill, tape measure, and pencil or marker.
1. Start by marking your mounting path and the ceiling joists.

The faux wood beams should be mounted to the ceiling joists. It helps to run a chalk line on the ceiling where you want your beams to go. You can use a stud finder to easily locate the ceiling joists. The standard spacing is 24 or 16 inches.
2. Next, install your mounting boards.

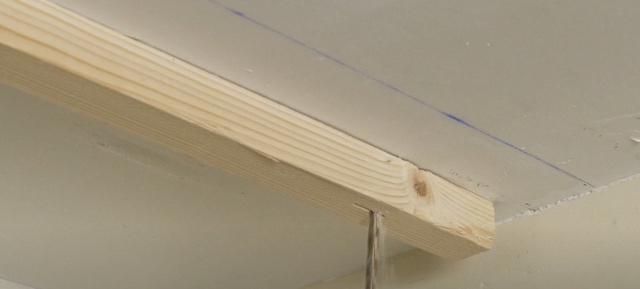
Hold your mounting boards parallel to the chalk line you made on the ceiling where your joists line up. Screw in wood screws, hold the mounting board in place, line everything up, and screw the wood screws into the joists.
3. Install the faux wood beams.

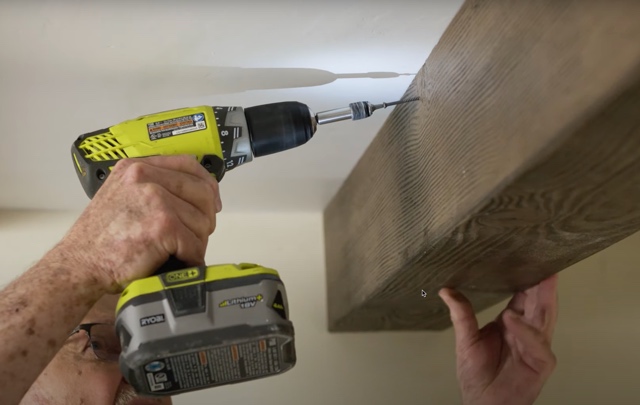
Now you may install the faux wood beams. Slip them over the top of your mounting boards, and then use the pre-drilled hardware and mounting holes. Screw the faux wood beams into the mounting board.
There you have it. This faux wood beam installation is easy and can be done as a quick DIY project. Watch the video below for even more helpful information.