Tin ceiling tiles can be used to upgrade just about any ceiling in the home or office, and a tin ceiling installation is so easy that most DIYers should be able to handle the project without any problem. In most cases, residential ceiling heights are eight, nine, or ten feet above the floor, so you’re likely going to need step-ladders for the installation. If you have access to scaffolding or a rolling work platform, they can make the tin ceiling installation go even quicker. You can rent these materials, if necessary, to avoid the cost of having to buy them.
Important note before your DIY tin ceiling tile installation project:
The first thing to remember when learning how to install nail up tin ceiling tiles is that regardless of whether your ceiling is exposed joists or a material like plaster or drywall, plywood should be installed prior to nailing any tiles in place. The plywood provides a secure nailing surface for the tiles.
We recommend the material be commercial-grade and 3/8- or 1/2-inch thick. It is always a good idea to check for high or low spots in the existing ceiling prior to installing the plywood. Stretch a string line from one side of the room to the other, holding it tight against the ceiling at both sides. Install shims or use a chisel and belt sander to remove minor low and high spots as needed. Check the ceiling in several spots across the length and width of the room.
Your plywood should be installed perpendicular to the way the ceiling joists run, even if they are covered by another material. Apply the plywood so that the end seams are situated on joists and each end can be nailed to a solid surface. If your joists are covered by sheetrock or another material, you may want to mark the joist locations with a chalk line to make your plywood installation a little easier. This is an important part of how to install tin ceiling tiles. Once the plywood has been nailed into place, you are ready to begin the tin tile installation.
Now you’re almost ready for your tin ceiling installation!
Find the center of your ceiling before you start installing tin ceiling tiles
By starting the tin ceiling tile installation in the center of your room, it normally provides the most appealing layout. In many cases, you may already have a ceiling fan or light in this spot, but if not, use the string method to determine the room’s center. Stretch two strings across the ceiling at diagonals from opposite corners, and where they cross should be the center. Finish nails tacked into the ceiling plywood can be used to secure the ends of the strings, or ask a helper to lend a hand. Draw two perpendicular lines at the room center where the strings cross to divide the ceiling into four quadrants.
Measure across the ends of your room and make a mark on the ceiling at the center of each perimeter wall, taking into account any offsets or unique situations that may affect your measurements for the tin ceiling installation. Use your chalk line to snap lines through the exact center of the room previously marked to perimeter wall centers; this should provide square lines to guide the installation of your first tile and those that follow. You can get chalk line anywhere you can shop for building supplies. Before installing any tiles, stand back and inspect the lines to ensure that they appear correct.
Let the tin ceiling installation begin!
Nailing Tiles in Place
To start your tin ceiling installation, your first tile should be placed in the center of the room and a corner lined up with the perpendicular lines you drew. Subsequent tiles should be installed in parallel rows. If you are installing a design with overlapping edges, take care that the overlap is in the same direction with each tile. It can be a good idea to situate the exposed edge of the overlap away from the entry door to avoid the appearance of any gaps at seams. You may find it helpful to snap additional ceiling lines based on the width of the tiles, but be careful not to get chalk on the surfaces of the tiles already installed. If you are using ceiling tiles with a directional pattern, take care that all tiles are installed in the proper direction.
Installing Perimeter Tiles
When you’re installing a tin ceiling and you reach the edges of the room, filler tiles will need to be cut. In many cases, decorative crown molding or another type of edge trim will be installed after your nail-up ceiling tile installation is complete. If this is the case with your application, a tight fit at your perimeter walls with the filler tiles isn’t critical; you just need them long enough so the edge is covered by the trim. When measuring the length of each filler panel, remember to allow for any edge overlapping needed at the adjacent full-size tile. Tin tiles can be cut with tin snips. Ensure that all ceiling vents or other fixtures are also cut out. When all perimeter filler tiles have been installed, your crown or cornice molding can be measured, cut, and nailed into place.
When installing tin ceiling tiles, gaps at overlapped seams can sometimes be closed by reversing a framing nail and placing the head against the stubborn seam while tapping lightly on the other end of the nail. Clear silicone caulk can also be used to fill any unsightly gaps, but make sure any excess is wiped up before it hardens. Remember that you can get all of your tiles online through our store, and you can also get more advice on how to install a tin ceiling at our blog.
Can you nail up Faux tin ceiling tiles?
Faux tin ceiling tiles can be nailed but we do not recommend it and there is no need to do it, glue works better.
Tin Ceiling Installation Tips
If you’re short on time or just returning to read this article on how to install tin ceiling tiles before the project begins, here are some quick tin ceiling installation tips and things to keep in mind:
- Prepare the surface first and make sure it’s suitable, not only for the installation of the nail-up tiles, but that the ceiling can support the additional weight.
- Mark the center of the space before you begin the tin ceiling installation and use this as the starting point, which might be where an existing ceiling fan or light is already placed.
- If installing tin ceiling tiles that have an overlapping design, make sure that the overlap is in the same direction with each tile. Avoid having the overlap face the direction of entry to the room.
- If you’re using decorative ceiling tiles with a pattern, have the direction of the pattern face the correct way for each tile.
- If cutting the tiles, measure twice and cut once. Also, take caution and wear protective gear as the tin tiles can be sharp!
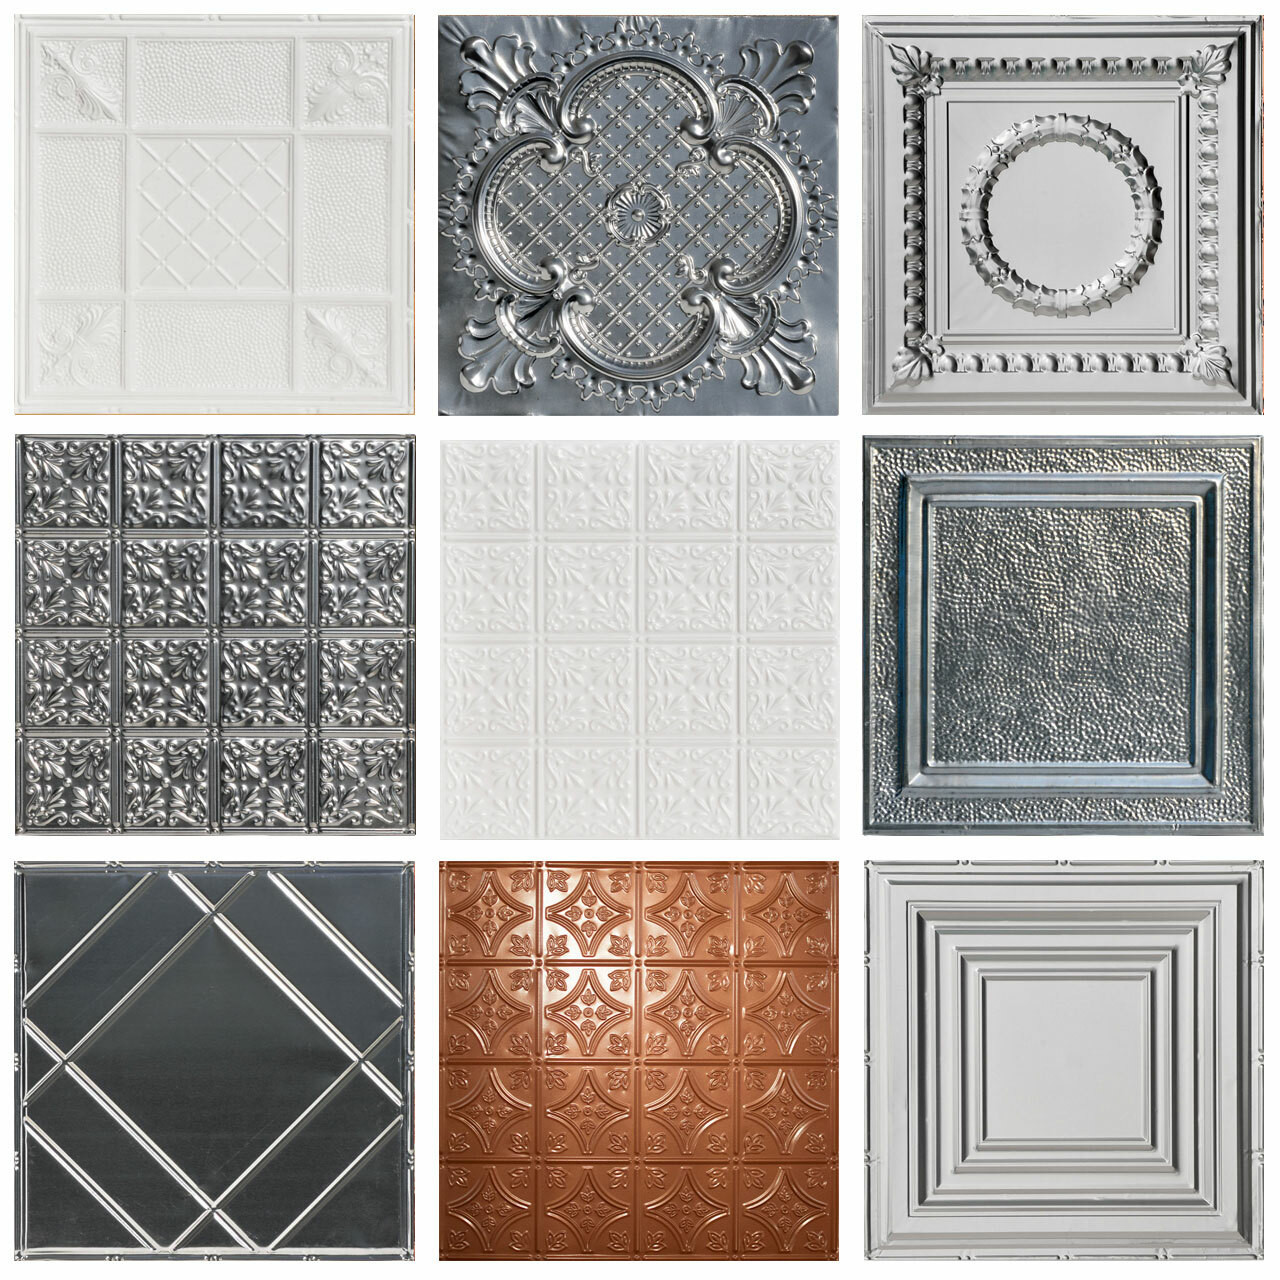
Available Sample Packs


Ceiling Tiles
- Ceiling Tiles Glue Up
- White Panels for Ceiling
- Foam Ceiling Planks
- Faux Tin Ceiling
- Commercial Ceiling Tiles Near Me
- Wood Ceiling Plank
- Tin Ceiling
- Drop Ceiling Tiles 2x2
- Ceiling Tiles Cost
- Corrugated Metal Ceiling Panels
- Rustic Ceiling Tiles
- Reclaimed Wood Ceiling
- Black Ceiling Tiles 2x2
- Drop Ceiling Panels 2x4
Wall Panels
- Tin Paneling for Walls
- 3D Wall Panels
- Waterproof Paneling for Shower Walls
- Corrugated Metal Panels
- Decorative Acrylic Panels
- Faux Concrete Walls
- Stone Siding Panels
- Corrugated Metal for Walls
- Wall PVC Panel
- Copper Wall Tiles
- 4x8 Decorative Wall Paneling
- Brick Panel
- Backsplash Metal
- Tile Panels
- 4x8 PVC Panels
- Backsplash Panels
Moldings
- Polyurethane Molding
- Moulding for Corners
- Corner Blocks for Crown Molding
- Paneling Molding
- Metal Moldings
- Crown Molding with Lights
- Crown Molding for Vaulted Ceiling
- Decorative Wall Molding Panels
- Crown Molding Outside Corner
- Styrofoam Crown Molding
- Modern Crown Molding
- Dentil Crown Molding
- 6 in Baseboard
- Polyurethane Crown Molding
- Crown Molding for Kitchen Cabinets
Popular Pages
- Faux Rock Panels
- Marble Columns for Sale
- Large Ceiling Medallion
- Door Skin
- Capitals for Columns
- PL Premium Adhesive
- Cornice Trim
- Vaulted Ceiling Trusses
- Wood Corbels
- Ceiling Tile Grid
- Decorative Ceiling Tile
- Ceiling Tile Samples
- Faux Wood Mantel
- Stainless Steel Tiles
- Faux Wood Beam Vaulted Ceiling
- Light Ceiling Medallion