How to Create a Coffered Ceiling - The Steps & Supplies
Written by Milan Jara on 21st Jun 2022
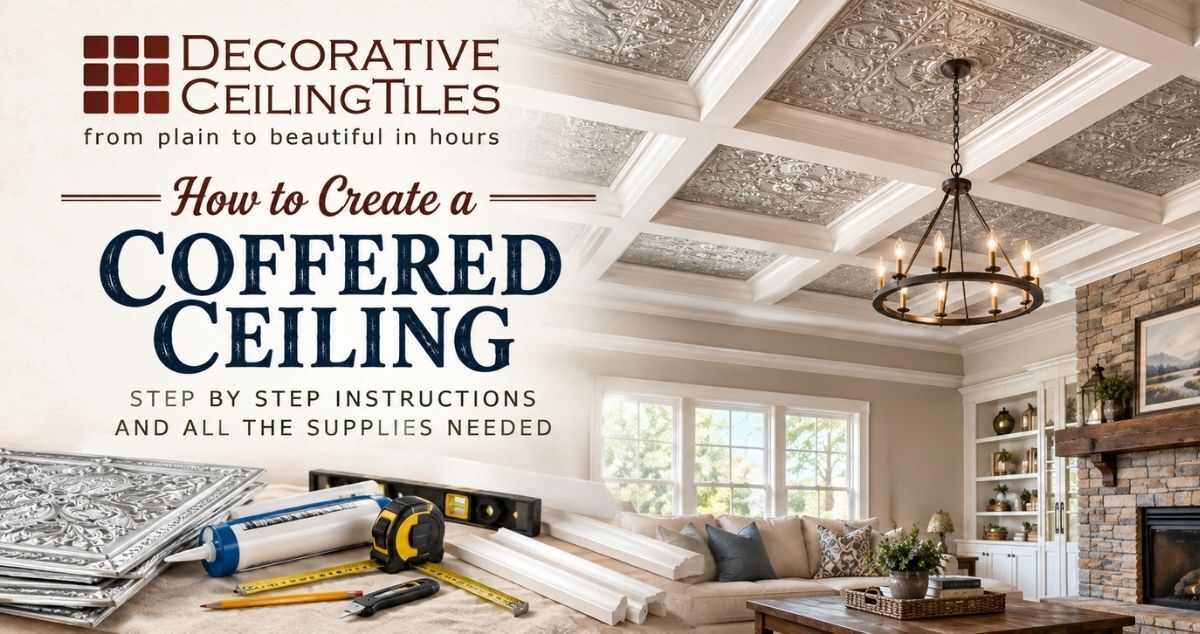
Coffered ceilings help add an elegant and comfortable feeling to rooms where the space above you feels empty. When wood stained beams are used, you get a rustic charm that works to bring a bit of nature to your space. And best of all they can be customized with lighting, ceiling tiles, and accent pieces to bring your aesthetic together.
You don't need to be a carpenter to build one, because there are alternative materials like our lines of faux-wood ceiling beams that are hollow on the inside and light enough to lift with one hand. The install is easy helping you avoid expensive labor and material costs. If you can measure, cut, and run a drill, this is a weekend project with no framing or structural work behind it.
The look itself is ancient. Coffers started as recesses cut into Greek and Roman stone ceilings, and, according to Britannica, the pattern probably began with wooden ceiling beams crossing one another, which is exactly the effect the faux-beam version below recreates without the weight.
Below you’ll find the tools and supplies needed, as well as the formulas that tell you exactly how many beams to buy so nothing is wasted. It's a simple and easy nine steps process to create a coffered ceiling in your living room, basement, a bedroom, hotel lobby or retail store, and any other space you choose.
Tools and Materials You Will Need
It's not as difficult as you'd think to add a coffered ceiling to your home or business. Here's the tools and supplies you'll need to create it.
Tools:
- Tape measure and pencil
- Graph paper for the layout
- Stud finder
- Chalk line
- Painter's or masking tape
- Drill and driver, with 1/8 inch and larger bits
- Miter saw or handsaw
- Level
- Caulk gun
- Foam roller and brush
- Step ladder and safety glasses
Materials:
- Faux wood beams - these do not require additional structural support making them better for DIY installation.
- 2x2 wood strips (furring strips) and toggle bolts to mount the beams.
- Construction adhesive (our Instant Grab Adhesive is perfect).
- Screws or finishing nails
- Paint or stain to match
- Caulk for the seams
- Ceiling tiles (optional) to cover the ceiling inside each coffer (glue-up or Styrofoam tiles work well)
- Crown molding (optional) for inside the coffers.
How to Measure and How Much Material to Buy
Measure the room and settle on your coffer size before you order anything, because every number below depends on it. Coffers between 2 and 4 feet square are the most common, and the right one for your room is a size that divides evenly into the room, lines up with your tile size, and puts every light fixture inside a coffer instead of on a beam.
Beam material
Beams run wall to wall in both directions, including along the perimeter. To find the total length of beam you need, use the room length (L), the room width (W), and your coffer size (C):
Total beam length = [((L ÷ C) + 1) × W] + [((W ÷ C) + 1) × L]
For a 12 ft by 12 ft room with 4 ft coffers:
= [((12 ÷ 4) + 1) × 12] + [((12 ÷ 4) + 1) × 12]
= (4 × 12) + (4 × 12)
= 96 linear feet of beam
At 8 feet per beam, that is 96 ÷ 8 = 12 beams. Beams share their intersections, so this formula slightly overestimates, which is exactly what you want because it builds in a margin for cuts and mistakes.
Ceiling tiles
The tiles cover the ceiling inside each coffer, so you need enough to cover the full ceiling area. Divide the area by the tile size and add about 10 percent for cuts:
Tiles = (L × W ÷ tile area) × 1.1, rounded up
For the same 12 ft by 12 ft room with 2 ft by 2 ft tiles (4 sq ft each):
= (144 ÷ 4) × 1.1 = 36 × 1.1 = 39.6
= 40 tiles
Crown molding (optional)
If you trim the inside of each coffer, multiply the number of coffers by the inside perimeter of one coffer:
Molding = number of coffers × 4 × (C minus beam width)
For the same 12 ft by 12 ft room with 4 ft coffers and 5-inch-wide beams (5 inches = 0.42 ft):
= 9 × 4 × (4 − 0.42)
= 9 × 4 × 3.58
= 128.9, rounded up to 129 linear feet
The 12 ft by 12 ft room has 9 coffers in a 3 by 3 grid, which is where the 9 comes from. The molding is optional and it's the biggest material line on the list, so price it out before you commit to it.
Molding = number of coffers × 4 × (C minus beam width)
The 12 ft by 12 ft room with 4 ft coffers has 9 coffers in a 3 by 3 grid. With 5-inch-wide beams, each inside edge measures about 3.58 ft, so each coffer takes about 14.3 ft of molding, or roughly 129 linear feet for the whole ceiling. The molding is optional and it's the biggest material line on the list, so price it out before you commit to it.
Adhesive, rails, and fasteners
Plan on construction adhesive for the tiles and the perimeter beams, one 2x2 rail for every beam line, and toggle bolts wherever a rail crosses open drywall instead of a joist.
Coverage varies from product to product, so check the cartridge and buy one more than you think you need. You can also run your room through the site's project calculator for tiles and molding, or contact the team and they'll check your math.
The Steps to Create a Coffered Ceiling
- Locate the joists.
- Mark the grid and snap chalk lines.
- Paint or stain the beams and tiles.
- Mount the rails.
- Cut and install the perimeter beams.
- Install the interior beams.
- Glue in the ceiling tiles.
- Add crown molding inside the coffers (optional).
- Caulk and touch up.
Step 1: Locate the Joists
Run a stud finder across the ceiling and mark every joist with a pencil, because the rails and beams hold best when they anchor into solid wood. Doing this first lets you know before drilling where you'll need toggle bolts instead.
Make sure to mark both ends of each joist at the walls, since the beams will cover those marks later anyway. If a reading seems off, drill a 1/8 inch test hole near the wall where a beam will hide it and confirm by feel.
Step 2: Mark the Grid and Snap Chalk Lines
Draw the grid on graph paper first so the coffers come out even and every light lands inside a box rather than on a beam, then transfer the layout to the ceiling with painter's tape and step back to judge the spacing by eye.
Beams in historic designs were structural supports, so lighting whether it is recessed or pendant would have been in between. A telltale sign of fake coffered ceilings is a beam of light directly on or partially covered by the beam
Tape is cheap to move and adhesive is not, so use tape to line this up and make your changes now. Once the layout looks right, snap a chalk line along each beam centerline in both directions until the full grid is on the ceiling.
Step 3: Paint or Stain the Beams and Tiles
Faux-beams can be purchased pre-stained and primed, or unfinished. If you plan on changing the color of either the beams or the tiles, now is the time as it is easier to do on the ground than when they're mounted above you.
Step 4: Mount the Rails
The beams are hollow, so each one slips over a 2x2 wood rail screwed to the ceiling, and the rail is what actually carries it.
- Set each rail on its chalk line so the beam hides it completely.
- Mark the rail every 3 feet
- Drill pilot holes and fasten into joists wherever you can, switching to toggle bolts where the rail crosses open drywall.
- Check level as you go, because a flat grid now saves you from caulking crooked seams later.
Step 5: Cut and Install the Perimeter Beams
Start with the beams that run along the walls. Measure each wall and cut the beam with a miter saw or hand saw about 1/4 inch long so it wedges in tight, and dry-fit it before any glue touches it. Now run a bead of construction adhesive where the beam meets the wall, slide it over its rail, and touch up any bare cut ends with your paint or stain.
Step 6: Install the Interior Beams
Now fill in the grid. Run the full-length beams in one direction first, sliding each over its rail and fastening with screws or finish nails, then cut the cross beams to fit the openings between them and install those the same way. Work across the ceiling one row at a time and you'll watch the coffers take shape as you go.
Step 7: Glue in the Ceiling Tiles (Optional)
Snap light layout lines inside each coffer so the tiles sit square to the beams. Apply adhesive to the back of each tile in quarter-sized dabs spaced 6 to 8 inches apart, press the tile to the ceiling on your lines, and butt each one edge to edge against its neighbor without overlapping. Finish one coffer before moving to the next so the pattern stays uniform across the whole ceiling.
Step 8: Add Crown Molding Inside the Coffers (Optional)
If you want the ceiling to read as high-end custom work rather than a kit, run small lightweight crown molding around the inside top edge of each coffer where the beam meets the tile.
Foam or urethane molding is the practical choice here because the faux-beams are hollow, so there's nothing behind them to nail into, and lightweight molding holds with adhesive alone where wood crown would sag.
The molding softens that hard 90-degree joint into a stepped profile, which is the detail that gives traditional coffered ceilings their depth. Cut the corners, glue it in place, and consider leaving it white against painted tiles so the profile stands out.
Step 9: Caulk and Touch Up
Caulk the seams where beams meet so the grid looks cohesive as one built-in piece instead of parts. Make sure to fill any nail holes and touch up paint or stain on the cut ends and corners. Then stand in the doorway and sight down the beam lines, because anything that reads crooked from there is worth fixing now while the caulk gun is still out.
Coffered ceilings are an incredible way to add some architectural details to any room, and with faux-wood ceiling beams, they're a DIY project.