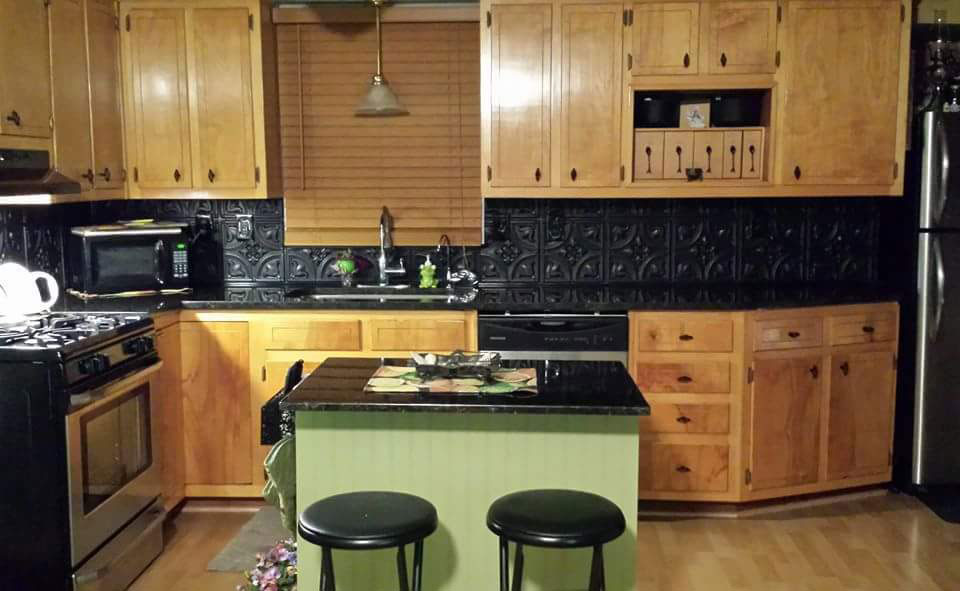
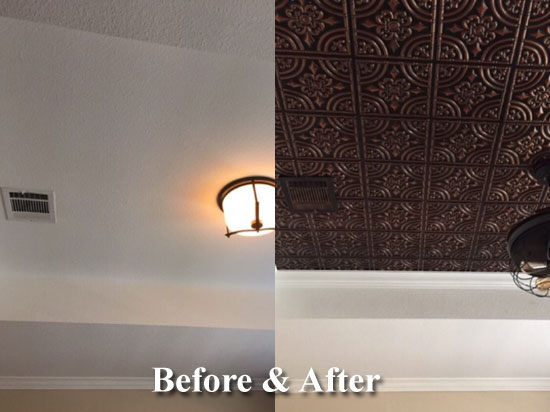
D.I.Y: How to install Glue up ceiling tiles
Written by Milan Jara on 3rd Oct 2018

Do you detest your gloomy ceiling and would want to make it look more interesting and second to none? Maybe a tad bit more adventurous with a remarkable touch of creativity? Well, install Glue up ceiling tiles! The use of glue up ceiling tiles is increasing day by day. It is the ultimate surefire way to add a soupçon of excitement and divine drama to your home’s décor. The best part? The installation is as easy as pie! You can do it all by yourself. Yes, you read that right; you don’t need expert hands to install a fine and dandy ceiling. And you don’t need to break the bank either to give it a perceptible help. All you need to do is invest a little and wait to experience a massive change in how your ceiling looks and feels. The power is in your hands and there is no better way to add a touch of elegance and style to your home than by performing simple D.I.Y hacks around it. Don’t you agree? After all, life itself is a do-it-yourself project. Sadly though, not many people discover this early enough. You should count yourself lucky. In this article, we’ll discuss how to install Glue up ceiling tiles all-by-yourself. Let’s dive right in.
You will need the following materials:
- Ceiling tiles
- Decorative or smooth stripes
- Adhesive
- Gloves
- Measuring tape
- Drawing paper
When you have all your materials ready, it’s right about time we made our hands dirty!
1. Get ready to work (preparing your working space, your set of materials and the ceiling)
- You need to ensure that you are working in a dust free area. Ceiling tiles tend to attract dust on their surfaces due to static energy they possess.
- Flatten the installation surface to make sure it is clean, smooth, and dry. Be careful not to contaminate the adherence glue.
2. It’s time to mark the ceiling area
Mark the area where you intend to place the ceiling tiles. Be sure to trace out any obstacles on the surface such as ceiling fixtures or lights. Trace out the tiles to suit how the surface looks like.
3. Apply adhesive on the tiles
Leave about an eight inch margin around the ceiling tile and apply adhesive accurately. Spread it generously on the back side (usually the rough side) of the tile and check if it sticks well.
4. Stick the ceiling tiles
This is the final step and the most important. The first tile to stick will create your base and determine how the rest of your ceiling tiles will fit in. You should therefore fix it with utmost precision. Place it a quarter inch from the chalk line and position it lightly on the ceiling making sure it sticks properly and no bumps are left. Now place the second tile next to it and repeat steps 3 and 4 for the rest of the tiles.
Once you have stuck all tiles in place, you will notice that there are sections that will be too small to fit perfectly and will have miniature gaps. This is where border tiles come in handy. Border tiles are made from slicing normal sized tiles to sizes that will interlock open parts of the ceiling.
So you will need to measure open gaps accurately and slice boarder tiles to fit in.
You might realize that there are seams that’ll be left in between tiles after installation. Be careful not to force them in order to seal the gap. Use decorative or smooth strips to cover open joints instead!
This is how you should install the strips.
First things first.
- Make sure the tiles are clean. This will ensure the adhesive stick perfectly.
- Make sure your tiles are fixed impeccably - the seams are clear and tile joints are distinct.
- Ensure the room temperature is relatively low. This will guarantee that the adhesive sticks.
When you have all these boxes ticked; follow the steps below.
- Fit it ‘dryly’ at the point where four tiles intersect and along the length of two adjacent tiles. Check if it fits seamlessly and peel the cover to expose the adhesive. In case it does not fit flawlessly, you will have to trim it to fit.
- Press the strip firmly into place making sure it forms a consistent and firm attachment with the tiles.
- Fix all other gaps starting with those that follow one direction to those that run perpendicularly.
For the decorative strips, you will find a dot line that dictates where you should start and end the installation.
Wrapping it up

Bingo! You have now turned your initially dull ceiling to a beautiful piece of art all by yourself!