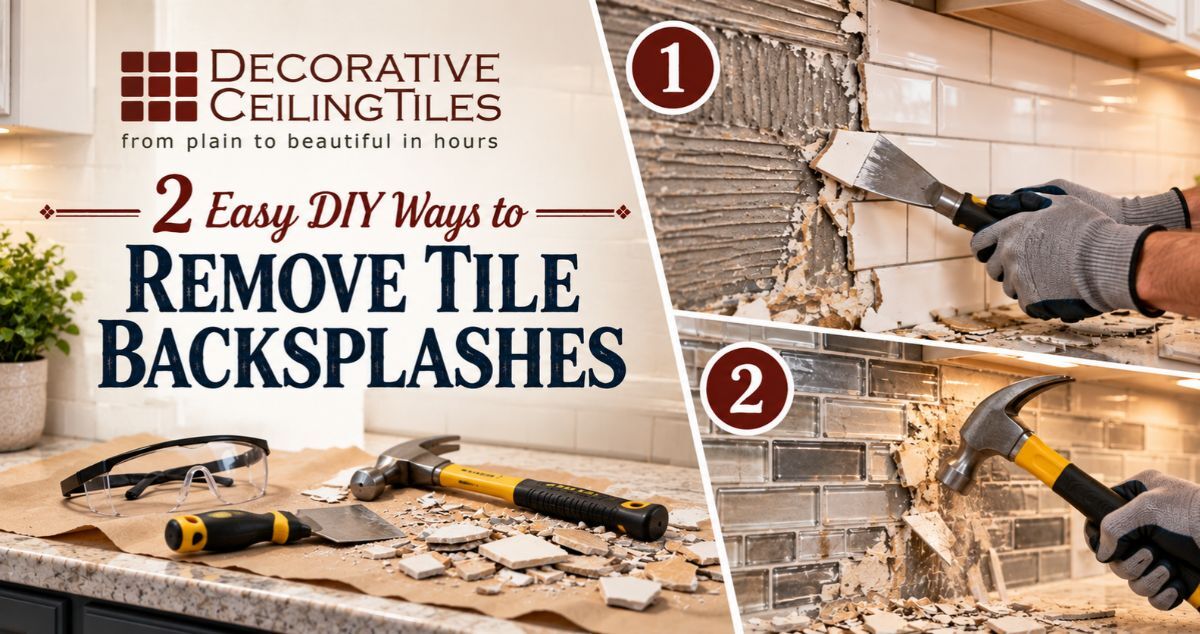
2 Easy DIY Ways to Remove Tile Backsplashes
Written by Milan Jara on 23rd Nov 2022
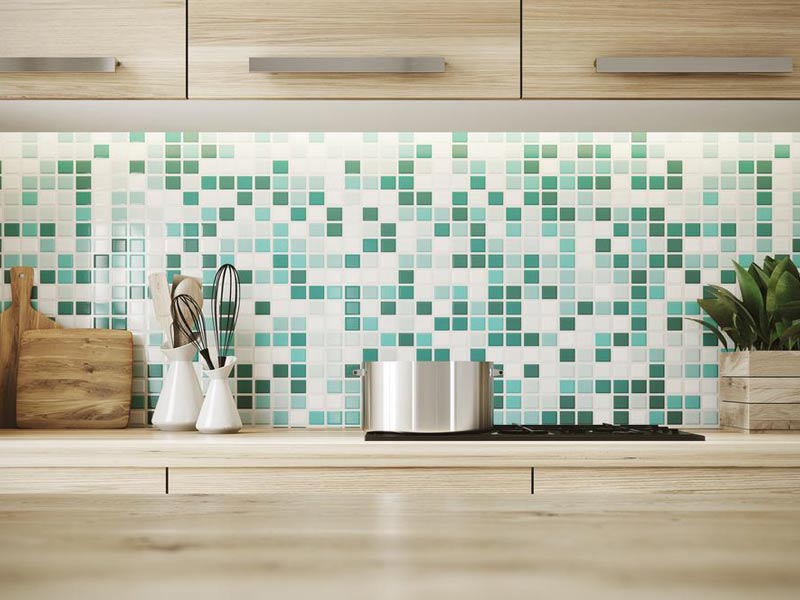
Grout discolored and chipping? Is the tile outdated or doesn’t match what you want in your kitchen, bathroom, or bar? Removing tile backsplashes is an easy DIY project and there are two ways you can do this.
- The clean and tidy method where you dismantle the grout work and remove them.
- Smash and shatter is the other option where you smash the tiles and clean up the mess.
Both are effective with the clean and tidy method taking longer, but creating less mess to clean up afterwards and it better protects your walls and the surroundings like your stove, bathroom sinks, and cabinets.
Smashing the tiles is quick, easy, and to be honest it's fun. But you will be left with a mess. It is the better option when you need to save time and don’t mind a few small mistakes or potentially damaging the items near the backsplash. Here’s the steps for both methods of removing tile backsplashes.
Before you begin, make sure to mark and protect the surrounding areas and fixtures including eclectic wires and outlets, plumbing, light fixtures, cabinets, etc…
Clean and Tidy DIY Backsplash Removal
This method for removing tile backsplashes takes longer but is less messy and makes it easy to protect counter tops, appliances, sinks, and the surroundings. And remember to always wear safety goggles and use gloves when handling materials.
You will need:
- 6-in-1 painter’s tool
- Hammer or mallet
- Chisels or optional utility knife
- Gloves and safety glasses
- Drop cloth to protect the counter surface
- Drywall joint compound
- Dremel tool to remove old, thick grout lines
- A sander or multi-tool with a grinder
The steps to remove the tile backsplash are:
- Move anything portable and cover the space below the backsplash.
- Begin breaking up the grout lines with a hammer or mallet and the chisel, or your dremel tool on the most exposed side.
- Use the chisel, utility knife, or the blade on your putty knife to scrape away excess grout.
- As tiles loosen from the wall, pick them off using the claw of the hammer or chisel.
- Scrape the remainder of the grout and adhesive off the wall and flatten using the sander or multi-tool.
Protect Your Belongings
The first step is to clear the area and cover anything you don’t want to get debris on. Move any appliances, decor items, and other belongings that you can to a safe area away from the backsplash. Now cover the rest with drop cloths.
Break Up the Grout Lines
In this step you want to start at whichever side of the backsplash has the most exposure to an open area. This could be if it runs to an open wall vs. a corner, and ideally you’ll start on the right or left side.
With your hammer or mallet, take the chisel and begin chipping away at the grout, not the tiles, until it begins to come loose. If you have a dremel tool, this will be faster and easier.
Scrape Away Excess Grout
Chisels and dremel tools cannot get all the grout out, so at this step you want to use a blade to scrape away excess grout between the tiles and on the wall. Get as much as you can to save work from having to smooth out the space later. The more you can remove, the easier it will be to remove the tiles the grout was holding in place.
Remove the Tiles
Pay attention to the tiles as they will begin to loosen from the walls. As they do you’ll want to either pick them off with your hand (inside your glove) if they’re loose enough, or use the claw of your hammer or the point of the chisel to pop them off the wall.
Smooth the Leftover Materials
Once all the tiles and grout have been removed, use sandpaper or a grinder to flatten and smooth the wall. This way you have a smooth surface to either paint or apply a new backsplash too. Once it's clear of adhesive and debris, this is also the perfect time to give it a quick wash.
Smash Method
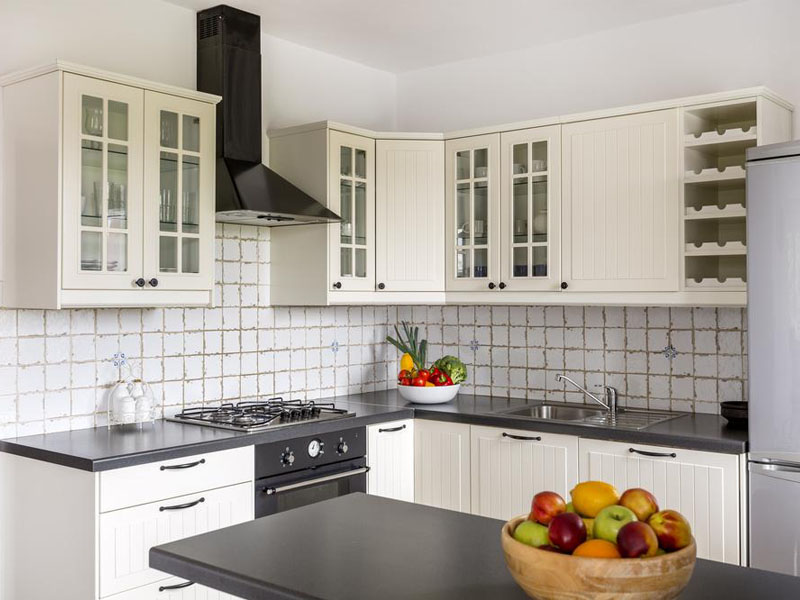
If you don’t mind a mess and a little prep work, the smash method is your quick and easy way to remove a tile backsplash.
You will need:
- Safety goggles
- Work gloves
- A hammer and a mallet (the mallet is optional)
- Drop cloths
- Sandpaper or a grinder
The steps to remove the tile backsplash are:
- Clear the area for anything that can be damaged
- Mark anything that you need to avoid smashing like plumbing, electrical wires, light fixtures, etc… and then cover anything you don’t want to get messy with drop cloths.
- Carefully strike the tiles starting at the exposed side with medium force to see if the tile cracks and comes apart. The goal is to shatter the tile but not damage the wall behind or accidentally miss and damage fixtures like sinks or lights.
- If yes, perfect, strike it again to shatter it and remove it.
- If no, increase the force a bit.
- Now strike a few more tiles with the correct force to shatter them and get them off the wall but not strong enough to damage behind them.
- As enough tiles come loose, peel them off and throw them out, then clean up the grout that was near them.
- Keep repeating this process until the entire backsplash is gone.
- Grind down and smooth out any leftover adhesive, grout, and tile pieces.
- Clean the wall.
Now you know how to remove the tile backsplash, it's time to look for a new one. Click here to see our selection of backsplashes for kitchens, washrooms, laundry rooms, and commercial spaces. They come in grout-free wall panels, materials like plated steel or tin for a stunning finish, and even LED backlit options for a unique and functional space.