How Do You Attach Faux Wood Beams to the Ceiling?
When many would-be DIYers ask, "How do you attach wood beams to the ceiling?" they're imagining a tough project. In reality, it's a straightforward task that can be broken down into a few steps.
Step1:
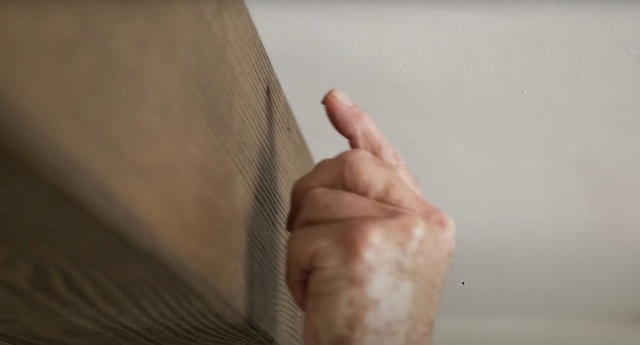
Measure the faux wood beams and cut them to the right size. You may be able to skip this step if you ordered custom-made faux wood beams.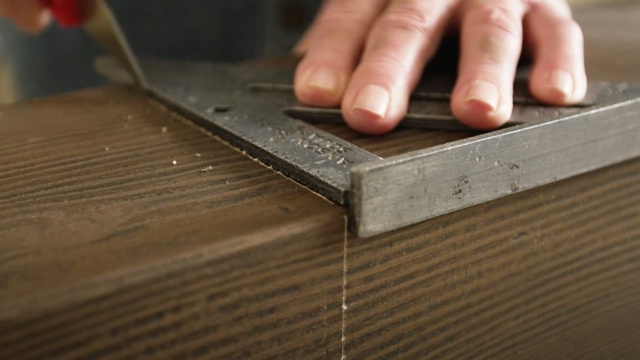
Step2:
Mark out where the beams should be placed on your ceiling using a ruler, a level, and painter's tape. Place the tape on the borders of where each beam will be placed. This will make lining up the beams much easier.
Step3:
Use a stud finder to figure out where you will place the support blocks for your beams.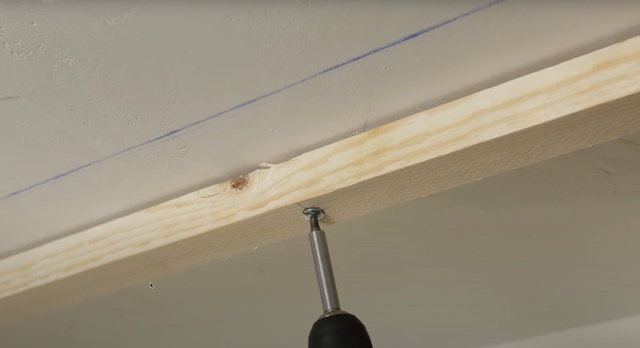
Step4:
Place the wood blocks at the locations you marked with the stud finder. These blocks are small and light, and they serve as an anchoring point for your beams.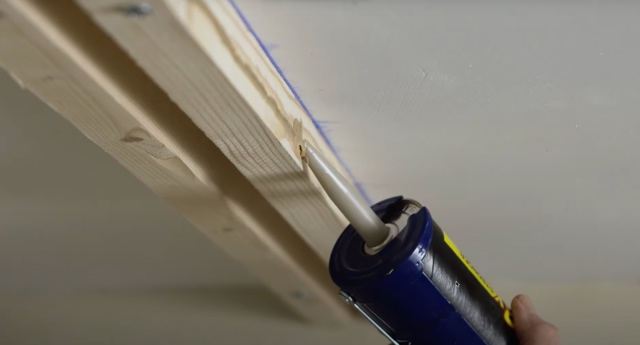
Step5:
Apply glue to the borders of the faux wood beams.Step6:
Have a partner help you lift and set the beams evenly along the borders you marked with painter's tape.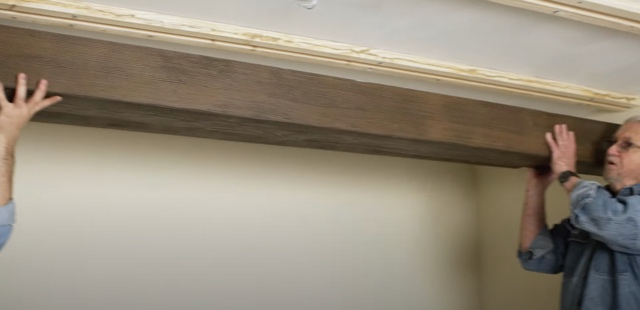
Step7:
Let the glue dry before moving on.Step8:
Find the spots you marked where you installed wood supports, then nail the sides of the beams into the wood supports.Step9:
Clean up excess glue that might have squeezed out along the edges.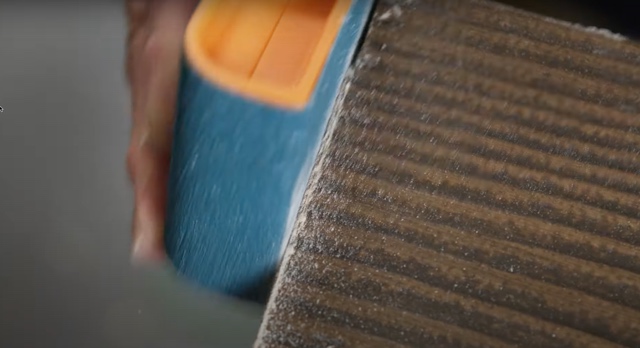
Step10:
Fill any damage or holes with wood filler.