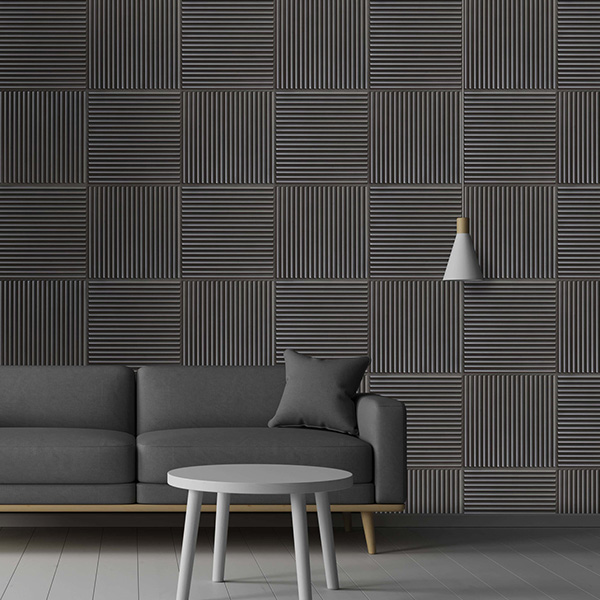
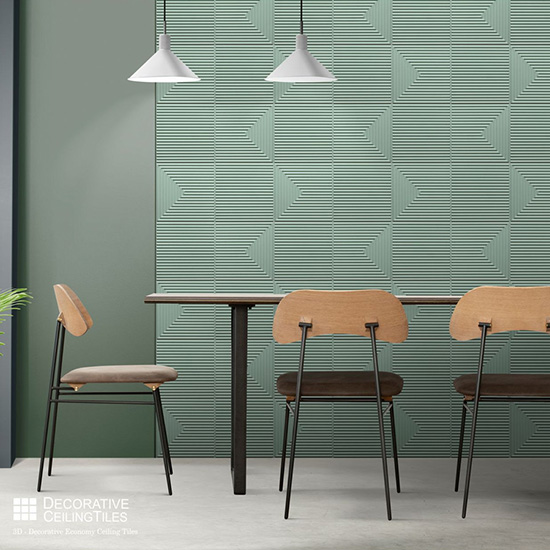
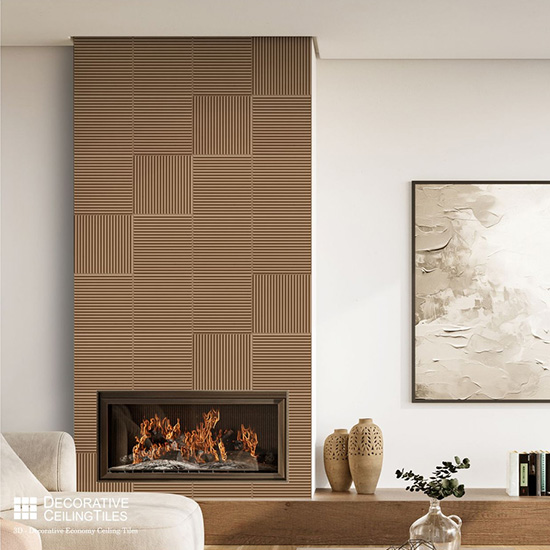
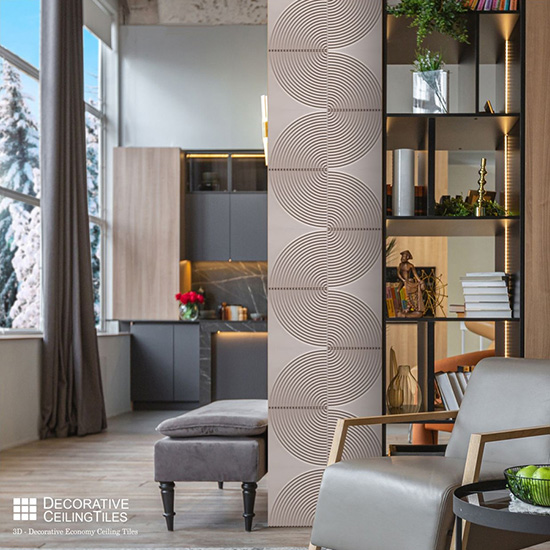
Peel and stick tiles are one of the easiest ways to upgrade your internal walls and ceilings - no special tools, no mess, no fuss.
These incredible decorative panels are lightweight with a self-adhesive backing that are super easy to apply and can instantly refresh ceilings and walls; no grout, glue or nails required.
In this guide, we’ll walk you through how to install Peel & Stick ceiling tiles and wall panels step by step, for fast and easy DIY room transformations that you’ll be proud of!
Popular uses for Peel & Stick Tiles include:
- Ceilings in Living Rooms, Bedrooms and Hallways
- Feature Walls in Living Rooms or Bedrooms
- Kitchen Backsplashes
- Bathroom Walls (outside the shower area)
What You Need
- Peel and Stick Ceiling Tiles
- If you haven’t already got some Peel & Stick Tiles, see our two product ranges below:
- Tape measure
- Pencil or chalk line
- Heavy Duty utility knife or Scissors
- Ladder or Step stool
- Clean cloth or Sponge

Step By Step Installation Guide
-
1. Measure Your Wall or Ceiling
Start by measuring the length and height of your wall or the length and width of your ceiling to calculate square footage. Add 10% extra to your tile order to cover trimming and errors.
Take a look at the following guide if you want to know all the best tips to measure correctly:
-
2. Clean and Prep the Surface
Whether you’re tiling a ceiling or a wall, tiles stick best to clean, smooth and dry surfaces. Wipe down the area thoroughly to remove any dust, grease or residue.
-
3. Find your Center
Use a chalk line or tape measure to find the center of the wall/ceiling. Draw two lines that intersect in the middle. This is your starting point and it ensures your tiles are aligned symmetrically.
Pro tip: For the cleanest layout, plan your design so that any tile cuts happen at the edges of the wall/ceiling, not in the center.
-
4. Peel, Align and Stick
Start from the center and work outwards:
- Peel off the paper backing.
- Carefully align the tile’s edge to your guideline.
- Overlap the edges to join the panels
- Press firmly, starting from the center and pushing out to remove air bubbles.
- Repeat tile by tile, checking alignment every few rows.
Pro tip: For extra hold in humid areas (like bathrooms), consider using a light spray adhesive along with the peel and stick backing.
-
5. Trim to Fit Edges
When you reach the edges or corners:
- Measure the gap
- Mark your tile
- Cut it using heavy-duty scissors or utility knife
Take your time here, clean cuts make for a professional finish.
-
6. Sit Back and Enjoy the Result!
You're done! Most installs take just a few hours and give your room a brand-new look.
Tips From the Pros
Want your installation to look like it was done by a professional? Use these pro tips to level up your results:
- Start in the center: always begin from the middle of the wall or ceiling and work outward for a balanced and symmetrical look.
- Dry fit before peeling: lay out a few tiles without removing the backing to visualize alignment and spacing.
- Measure twice, cut once: measure carefully before trimming edge tiles, clean cuts make a big difference.
- Use extra adhesive in humid areas: bathrooms and kitchens can cause tiles to loosen over time. A light adhesive spray or double-sided tape can boost longevity.
- Warm up cold tiles: if your tiles feel stiff (especially in winter), warm them slightly with a hair dryer to improve flexibility and adhesion.
Recap: Installing Peel and Stick Tiles
Here’s a quick step-by-step summary to guide your DIY project:
- Measure your space and calculate how many tiles you need (add 10% extra).
- Clean the surface (whether wall or ceiling)so that it’s smooth, dry and dust-free.
- Find your center point using a chalk line or tape measure.
- Peel and stick, starting from the center and pressing firmly from the middle out.
- Trim tiles as needed at the edges with scissors or a utility knife.
- Admire your work: you just gave your space a great new look!
Ready to get started? Explore our full collection of peel and stick tiles and find the perfect style for your walls or ceilings.
Recommended Products
Looking for inspiration? These best-selling peel and stick tiles are customer favorites for a reason: easy to install, great-looking and ideal for fast makeovers.
Faux Tin Wall Panels #9004
Great For:
Home Offices, Studios, Creative Workspaces.
Why We Love it:
Bold and geometric with a clean, and structured look. This design adds modern sophistication and a sense of order, making it ideal for focused spaces. The subtle sheen gives it a high-end feel.
Pair it With:
Dark Wood Desks, Black or Chrome Fixtures, Minimal Decor with clean lines.
Great For:
Living Rooms, Bedrooms or Cozy Feature Walls.
Why We Love it:
This timeless design brings warmth and charm to any room. The subtle embossed details and soft metallic finish make it ideal for creating an inviting atmosphere.
Pair it With:
Warm Lighting, Earth-Toned Textiles, Vintage-Inspired Decor or Rustic Wood Furniture.
Faux Tin Wall Panels #9002
Great For:
Room Dividers or Hallway Features
Why We Love it:
Clean and Refined, this design adds texture. It’s subtle enough to blend into transitional areas while still making a stylish statement.
Pair it With:
Natural Wood Tones, Greenery, Linen Curtains and Soft Neutral Rugs.
Need help choosing or have some questions on your mind? Feel free to contact our friendly team of experts today, we’re always excited to hear from DIY enthusiasts!


