When to Use Nail-Up Ceiling Tiles
Written by Milan Jara on 12th Aug 2021

Are you considering metal or tin ceiling tiles for your next home renovation? Nail-up ceiling tiles can give the room the makeover you’re looking for. This type of ceiling tile is easier to install than you may think and is sure to become the focal point of any room. An avid DIYer can have these installed in as little time as an afternoon.
Today, you’ll learn what nail-up ceiling tiles are, and we’ll explain when to use them so that you can consider them for your next renovation project.
What Are Nail-up Ceiling Tiles?
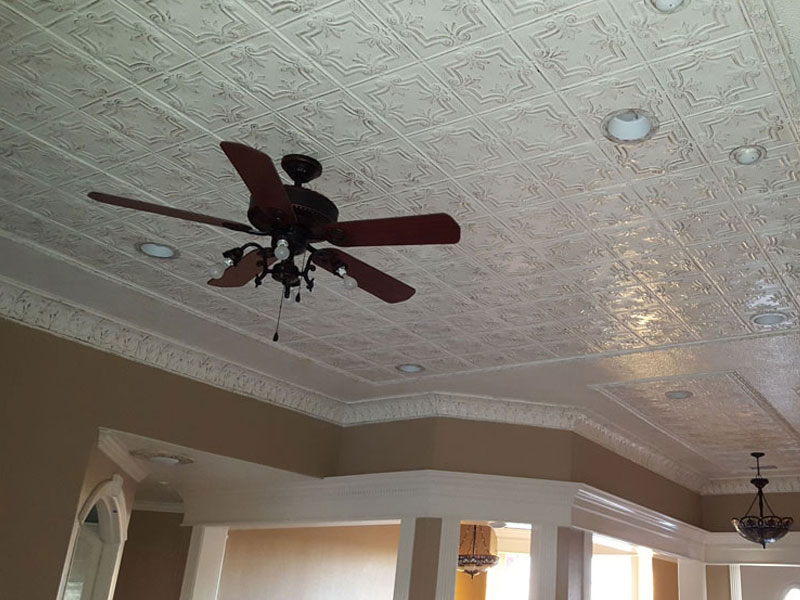
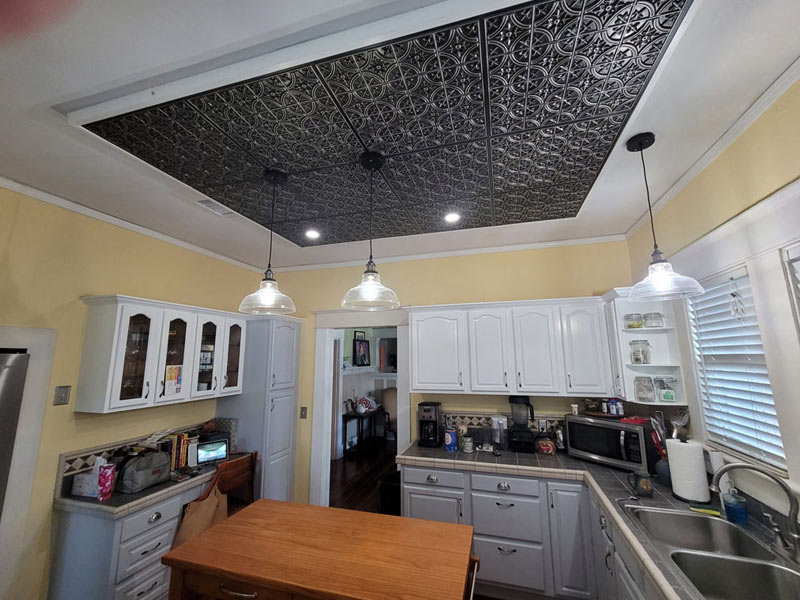
Nail-up ceiling tiles are a type of decorative ceiling tile that has been popular among builders and homeowners for generations. They are a great alternative to traditional ceiling tiles to give your space a way to stand out.
These tiles have an overlapping nail railing of a quarter-inch, making them easy to install on wood furring and achieve a more seamless look. Nail-up ceiling tiles come in a variety of different materials. You may choose from tin nail-up ceiling tiles, copper, or aluminum.
Although tin-coated steel is the most common option for its affordability, copper and aluminum can give a room a different feel and quality. The reflective quality of nail-up ceiling tiles is what makes them unique.
When choosing the specific designs of these tiles, your options are virtually limitless, with over 200 patterns and 75 finishes. Many of the nail-up ceiling tile designs are generally a re-creation of the 19th-century tin ceiling tiles. They may include:
- Vine motifs
- Curves
- Beading
- Other intricate designs
These patterns are embossed on the ceiling tiles to create a beautiful design across your ceiling.

When to Use Nail-up Ceiling Tiles
Nail-up ceilings will bring a traditionally unique look to your home that will be a pleasant surprise to all of your guests. You can easily install them in any room in your home, in an office, or in other commercial spaces.
There are many circumstances when nail-up ceiling tiles may be a good choice for space. If you want authentic, real metal ceiling tiles installed in the historically correct way, nailing up your ceiling tiles is the best option.
Nail-up tiles are larger and heavier than other types of ceiling tiles, so they’re best used on a strong ceiling base to make sure that the tiles stay in place.
Although some people choose to glue up metal tile ceilings, this method is not recommended due to the weight of the tiles. It is much safer to nail them up to a proper substrate, such as a furring strip or plywood so that the nail can grab onto some substance and be more secure.
One scenario to use nail-up ceiling tiles is if you have an unfinished basement with trusses. In this case, an easy option to finish your basement ceiling is to install furring strips 12 inches apart from the center, depending on the pattern and size, then nail these tiles into place. Due to the unique look of nail-up ceiling tiles, your basement is also a great place to put them if you don’t want them to stand out in your home too much.
How to Use Nail-up Ceiling Tiles
Nail-up ceiling tiles are an easy and affordable way to transform and upgrade a space in your home. Installing them is quick and easy, making it a great DIY project.
You can use plywood or furring strips to install nail-up ceiling tiles. Do not skip this step. Install plywood first to ensure a flat and even surface.
The purposes of the furring strips are to give you a secure surface around the perimeter of each tile to nail them in and to allow you to adjust for any irregularities in the ceiling. Nail-up tiles should overlap, so your main concern during installation should be to ensure the tiles are straight.
This job is best done with at least two people. One person aligns the tiles, while the other nail them into the furring.
Follow these steps to properly install nail-up ceiling tiles.
Things you need:
- Gloves
- Ladder
- Stud finder
- Plywood pencil
- Drill
- Tape measure
- Chalk line
- Nail gun
- Conehead nails
1. Before beginning the installation, you must put on a pair of gloves. Without gloves, you risk cutting yourself or having black oily fingers from the tiles.
2. First, you must find the center of your ceiling and mark it with a cross. Then locate the ceiling joists. You must install furring strips perpendicular to the ceiling joists.
3. Once you find the joists, mark their locations on the ceiling, then connect them by snapping a chalk line between them. Repeat at one-foot intervals.
4. From there, install furring strips along the room’s perimeter and then every 12 inches, screwing them into the joists you marked earlier. You’re now ready to install your nail-up ceiling tiles.
5. Restrike your intersecting lines on the furring strips, then position the tile’s corner on the cross mark you drew earlier.
6. Use conehead nails to nail up the tile. Continue nailing up tiles in an overlapping manner. Be sure to restrike your chalk guide every couple of feet to give you an alignment guide as you work your way across the room.
7. Once you get across the room and cover your ceilings with your tiles, you’re all done!

Conclusion
Nail-up ceiling tiles can offer a long-term solution for those who want unique yet long-lasting ceilings in their homes that creates a timeless look. As long as you pay attention during the installation process, your ceilings will be a conversation starter for anyone who comes into your home.


