Kick Up Your Weekend Plans with a New Tin Tile Backsplash
Written by Milan Jara on 13th Aug 2018
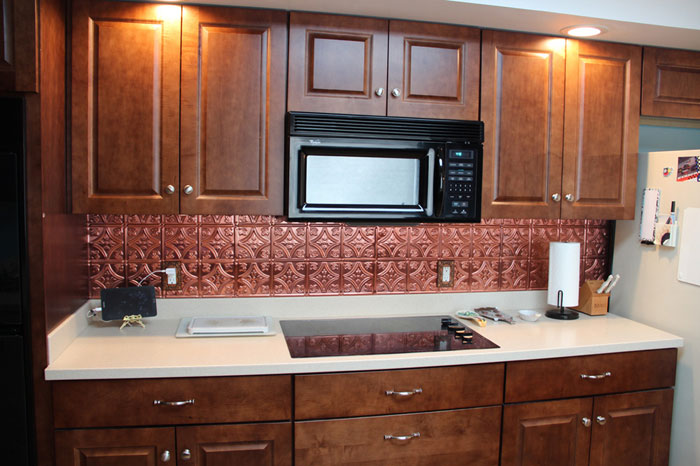
Hot on the market these days is the ability to shake up your home decorations with DIY projects you can actually do on a reasonable budget.
Like with tin ceiling tiles, if you’re ready to make a splash in your kitchen, a tin tile backsplash may be just what you need. And, installing one is easier and more affordable than you think!
First Things First
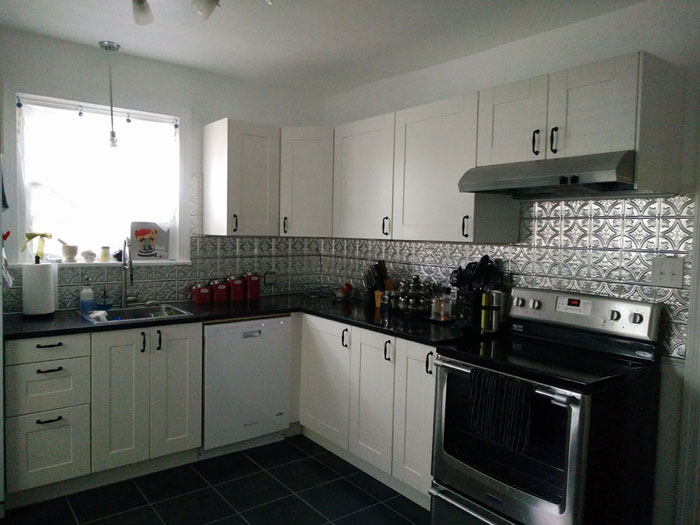
Before we dive right into the how-tos of tin tile backsplash DIY installation, it’s important to keep a couple of things in mind:
1. choosing the right tin tile for your kitchen is extremely important and
2. what your overall budget is for the project.
As with natural stone, mosaic tile, subway tile, or stainless steel backsplashes, finding the perfect tin tile for your backsplash will be the make or break decision for this project. There are tin tiles that are more than just aesthetically pleasing, but they may not be functional in a kitchen on a backsplash. However, you do not have to skimp on aesthetics to find functionality.
You also must keep in mind that tiling a kitchen backsplash of tin requires much more than just the tile and tin snips. You will most likely need to purchase new tools, tiles, and more. If you want to stay under a certain budget, share that with your sales rep at the store when you are purchasing your materials. Let the experts share with you the most cost efficient and reputable materials on the market.
Another great way to know whether the tile you are selecting is the right choice in terms of functionality and what materials are right for the price is to do online research first. That’s probably why you ended up here, right?
We’re happy to help!
Let’s get to it.
Pre-Installation Work
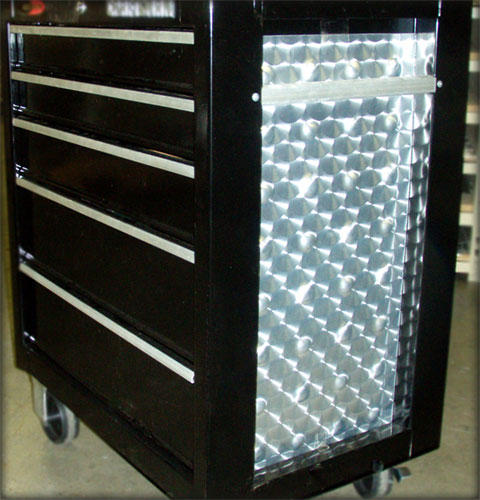
To make choosing the tin tile for the stainless backsplash panels easier for you, we’ve laid out some options that we know will work well for many kitchens both for aesthetic and budget reasons.
Aluminum vs. Bronze Tin Tiles
You will notice when you begin your search for the perfect tin tile that bronze colored tin tiles are more expensive than other color choices. This may be mostly because this is a popular tin color as everyone immediately thinks of bronze when they think of tin. Here are some options to choose from:
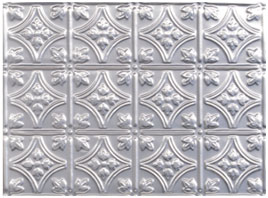
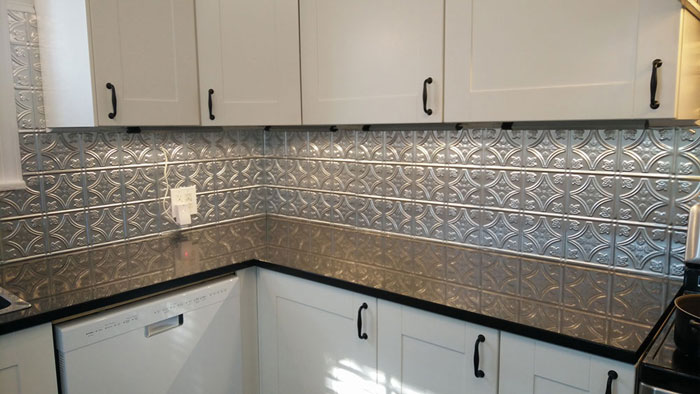
PRINCESS VICTORIA – ALUMINUM BACKSPLASH TILE –Size: 24" x 18" – $10.99
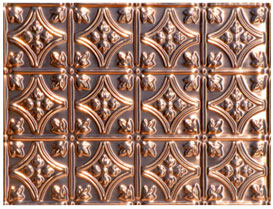
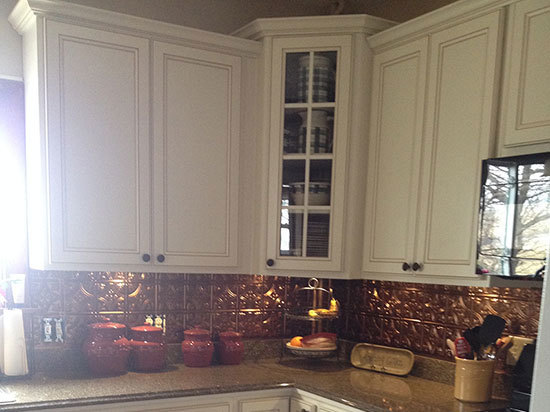
PRINCESS VICTORIA – COPPER BACKSPLASH TILE – Size: Size: 24" x 18" – $50.33
There are other color options available but keep in mind that anything other than the silver aluminum will be more expensive! The good news is this will be the most expensive part of your tin tile backsplash project! Everything else is very affordable!
Step 1: Gather Your Materials
Before you head out to the store to purchase all new materials for your new tin tile backsplash installation, check your current stock at home first. You may be surprised at what tools you have that can work in your installation.
Here are the tools you will need to create the perfect tin tile backsplash in your kitchen this weekend:
- Protective goggles
- Gloves
- Tin snips
- Drill and drill bits
- Tin tiles (this is a no-brainer)
- Tape measure
- Adhesive (construction grade)
- Level
- Pencil
If you are a chronic DIYer, you may have a few of these tools already in your home. Gather up the materials and tools and head to the kitchen!
Step 2: Clear the Way
It’s time to make room for your DIY tin tile backsplash project! Clear off the counters, walls, floor space, etc. Anything in the kitchen that is not in your cabinets must find a new home for a little while.
You will be thankful that your possessions are put away during this process as it can get messy from time to time.
To keep your floor protected, place a drop cloth or old sheet on the floor. It is also a good idea to turn off the power to the electrical outlets that are located in the kitchen just as a precaution.
Step 3: Get all the Way in the Back
Move your stove out from the designated location so that you can easily maneuver behind it during the installation.
In order to know where your tin tile backsplash should start behind the stove, take your level and tape measure and begin measuring across the counter and behind the stove. This will give you a better idea of where to start the tiling when you’re ready. Mark it off with a pencil.
Step 4: Cut It Up
Now comes the fun part. When you decide to add a backsplash by yourself, you take on the responsibility of cutting the tile to fit your specific needs. Luckily, cutting tin tile is not quite as difficult as cutting ceramic tile. No wet saw needed
However, keep in mind that tin tile is extremely sharp around the edges and can potentially cause some damage. It is extremely important to use protective gloves when cutting tin tile for this very reason. If you can, use the uncut edges that the factory leaves as they tend to be straighter and duller.
Step 5: You Need Your Electricity
Tin tile backsplash project completers sometimes forget to cut the square holes out of the tin tile for the electrical outlet or switch plate! This can cause a serious headache if the project is finished in its entirety without electricity!
To begin cutting your holes, start with a drill. It really does not matter what size drill bit you use here as you are just getting the cut started so the cutting tool you use can finish the rest of the project with no issues.
Step 6: Application Time
Now that you have your tin tiles cut and ready to go, it’s time to start applying them to the backsplash.
Use the construction grade adhesive and apply it to the tin tile generously. Make sure that you stick the tin tile directly on the wall where you want it to go as they are not easily moved. Once it is on the wall, slide the next tile in behind the first one so that you do not see any seams when the work is completed.
And there you have it—your new tin tile backsplash that is ready to make a splash at your next dinner party! With very little time, money, and effort, your kitchen’s backsplash could easily have a makeover this weekend!
