Everything You Need to Know to Install a Copper Backsplash in Your Home with Ease
Written by Milan Jara on 17th May 2019

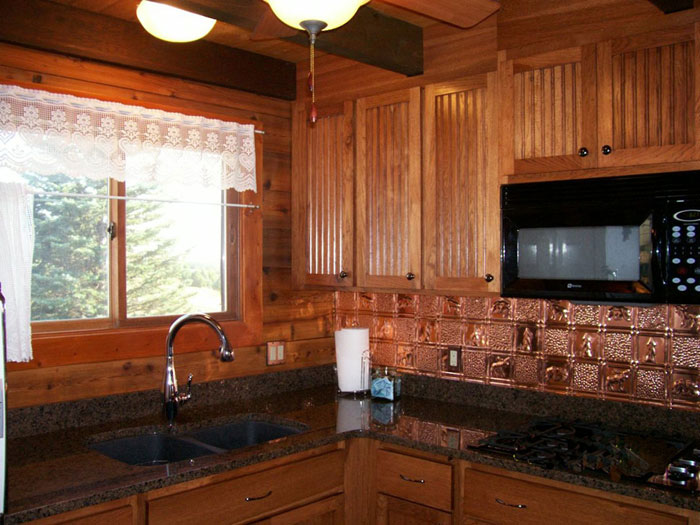
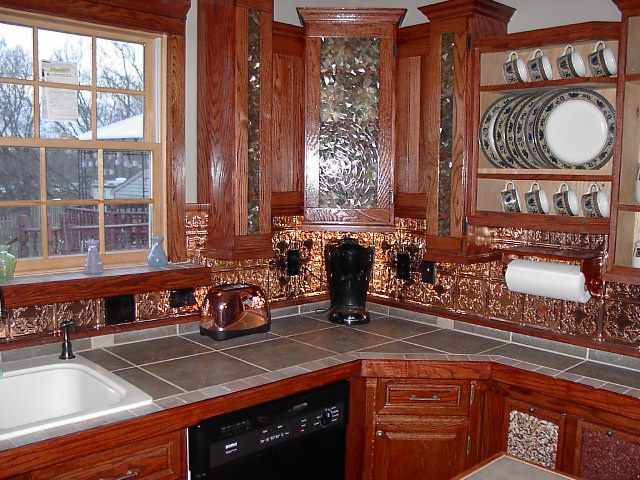
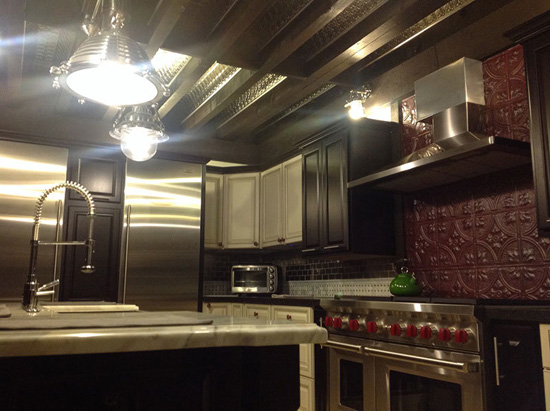
Like with stainless steel, copper backsplashes are quite popular in the design world and for good reason. With kitchens and bathrooms undergoing design rehauls just as often as other rooms in the home, people are always looking for unique techniques of high quality that will improve any kitchen design. Using copper ceiling tiles or panels as backsplashes are easy and less time consuming than other materials such as small glass tile pieces and will become the focal point of the room.
The trick putting together great looking copper backsplash ideas out of flat copper or hammered copper comes in the installation process. Some might feel comfortable installing backsplash tiles or copper backsplash sheets on their own. However, others might feel uneasy about venturing into the installation world. Hiring someone to do the job for you might sound like the easiest option (and sometimes the cheapest if you’re avoiding mistakes that need to be fixed). But, with the right tools and information, you can do the installation of your new copper backsplash all on your own!
Word of Caution

For most homeowners, using a metal backsplash in your kitchen or bathroom might not raise any red flags. Unfortunately, this could be a costly (sometimes deadly) mistake if not thought of beforehand.
In a kitchen or bathroom, there will be electricity and water used in, on, or around the metal surface. Therefore, in order to keep yourself from any danger, you should ground your copper backsplash.
You might not know what grounding metal means and that’s okay. We’re here to clear that up for you. Grounding your metal requires the connection of wire between your coppersheet and an electrical ground. In order to ensure that this process is done correctly, you might want to invest in a professional to do the job. If you can get the rest of it done on your own, hiring someone to come in and make sure that the grounding is done right could save you from many (potentially deadly) consequences.
Plywood or Strong Adhesive?
While you’re out searching for the best methods to install your copper backsplash, you may come across differing opinions about certain aspects of the install. For instance, some professionals say that you should affix the copper-tin tiles to plywood before installing it onto your sheetrock. There is certainly nothing “wrong” with this method, but it could create more work for you (unnecessarily). You may also find that the plywood keeps the copper tiles from bending too much. The bending of the copper might cause an aesthetic issue, so that is something to keep in mind.
On the other side, you may find professionals who say that getting a strong adhesive and putting the copper backsplash tiles on the sheetrock directly will work fine. Most homeowners who have used this method of installation have not reported any negative feedback.
Either way that you go, you will be left with a beautiful copper backsplash that will speak for itself!
Tools You’ll Need for a Seamless Installation
Before you get started, you should have the following tools on hand and easily accessible:
- Tape Measure
- Level
- Silicone Caulk with Caulk Gun
- Pencil
- Strong Adhesive (such as Liquid Nails)
- Gloves (avoid plastic – cotton works best)
- Metal Cutter
Steps for Easy Copper Backsplash Installation

Step 1
Whether you are installing the copper backsplash in your bathroom or kitchen, you must first prepare the surface. Clean the wall thoroughly, removing any dust, food particles, or other things that could cause the adhesive to stick less. If your wall has cracks, bumps, or other obtrusive elements, you may want to go with the plywood method (install plywood to the sheetrock first before installing the copper backsplash tiles).
Step 2
Pick a good starting point for installing that very first copper tin tile. If you’re unsure of where to start, the edge of the wall or cabinet is a good starting point. Take your pencil and mark on the wall where the tile’s edge is away from the wall. Using your level, draw a vertical line.
Step 3
Give the back of your copper tin tile a coat of adhesive (such as Liquid Nails). Ensure that you fill in any of the crevices that your embossed tin tile might have. These crevices will be seen on decorative copper tiles.
Be careful that you don’t dent the tile as metal is easy to bend. Immediately place the tile on the wall. Pay attention to the distribution of the pressure you’re applying to the application of the tile to the wall. Adequate pressure will ensure that the glue spreads evenly on the back and touches all parts of the copper tile and the wall. Repeat this process until all copper tiles are on the wall.
You will want the tiles to overlap about ⅜ inch to ensure there are no cracks. Wipe any excess glue that may seep through to the surface. (This is also something to keep in mind when cutting the copper tiles—leave enough extra length to take into account the ⅜ inch overlap)
Step 4
Once all of the copper tiles are placed on the wall, take your silicone caulk and run it over the joints. You want to ensure that no moisture/food gets behind the tiles, and the caulk will ensure that the tiles are sealed. Then, you will apply a thin line of silicone caulk to the outside perimeter of the backsplash. Clean up excess caulk if needed (before it dries)!
Special Notes
Our team has found that during the installation process, copper tiles can have an adverse reaction to the adhesive. To keep this from happening, apply one coat of clear acrylic. Let the acrylic dry overnight. This will keep the adverse reaction from happening and save you time and headaches.
To check out our copper backsplash tiles, head on over to our copper tiles section → https://www.decorativeceilingtiles.net/backsplashes/
Adding a copper backsplash to your kitchen or bathroom will give it a pop of rustic feels as well as a refined look. Copper is timeless and can give any space a pick-me-up. You cannot go wrong with a copper backsplash.